Videogame sprites: creating characters and objects
Create your own animated sprites, including characters and objects for a 2D platformer game (or similar), using a free and accessible pixel art program.
Learn about animation and movement principals, and consider frame rates as they relate to your videogame sprites.
Recommended year levels: Yrs 3-6
Learning areas and capabilities: Media Arts, The Arts, Technologies
Equipment needed: Internet and browser; Piskel and Scratch are free, browser-based programs
This resource will focus on helping students create their own videogame characters and objects for use in a game-making platform such as Scratch or GameFroot.
This resource is focused on creating two-dimensional, pixel-art characters and objects, which doesn’t require knowledge of Scratch (or coding) to develop, however the resource does not cover coding characters into gaming platforms. For more about making a videogame using Scratch check out this resource.
Sprites
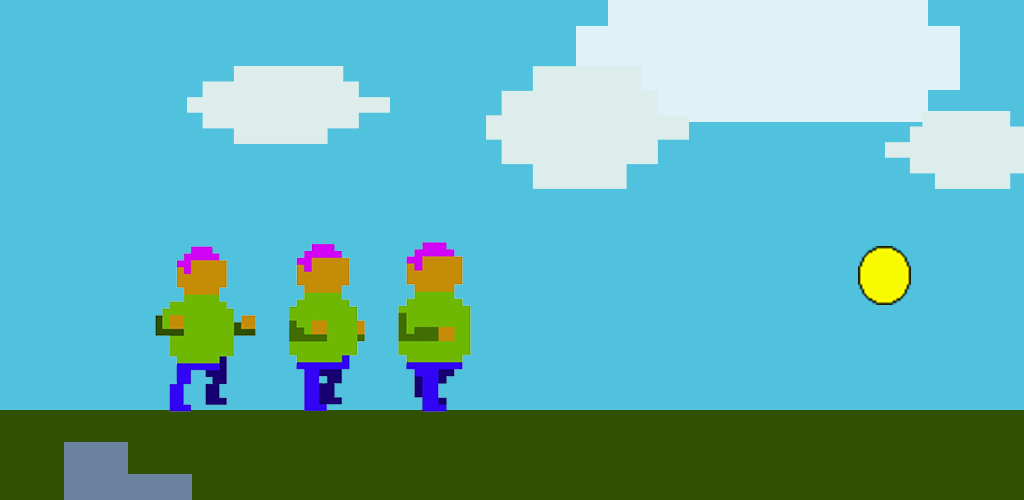
A sprite is a broader term to describe characters and objects that we find and create for two-dimensional videogames. Sprites are often made up of pixels (as opposed to triangles for 3D games), and usually have some code associated with them (even if it’s basic collision code!)
So, the background in a 2D videogame we wouldn’t consider a sprite, because backgrounds usually aren’t coded or able to be interacted with inside a videogame.
Think: think about some famous two-dimensional games, and brainstorm some sprites you know from them – so playable characters, non-playable characters, even objects (like collectibles or dangers).
You might have thought of classic characters like Mario or Sonic, maybe you thought about the coins in Sonic, or the green pipes from Mario!
What is a costume?
If you know about really old videogames like Pong – games that didn’t even have colour yet, you might also know that the sprites in Pong (including the paddles and the ‘ball’ which is essentially a square dot!) aren’t animated in the sense that their look doesn’t change – they stay the same no matter what is happening in the game. When a sprite can change its state, or be animated in some way, we call the images that make up these animations or different states, costumes.
A costume is basically a different state a sprite can be in.
Playable characters usually start in an idle state – idle meaning still, or not moving – so not much animation happening there (although it can be good to animate idle costumes as well, so characters aren’t completely still like statues).
Once we start to move the character though, they change costumes, which means an animation is activated by the inputs (buttons or keyboard for example). Of course many object or NPC (non-playable-character) sprites might already be in a state of motion when you come across them.
To press >RIGHT for Mario and he’ll change costumes; with the player activating a walking animation which would be made up of several costumes. If you’ve made an animation before, you can think of the costumes like the frames in an animation.
Think: Staying with the game/character of Mario from back in the day, what costumes/animation would you see if you pressed the following:
^ UP
< LEFT
DOWN
Go a bit further, what costumes/animations are triggered in the old school Mario game when you:
- Collect a mushroom
- Lose to an enemy
Characters need costumes in videogames so that they appear to move through animations the game makers create. If game makers didn’t create these costumes, and code characters to become animated when the player moves them, they would just slide or float when we made them walk or jump, and it would look like a still object rather than a character.
Of course, objects in games can have costumes and be animated too – and we will use the example of a coin collectible later in this resource.
Pixel art
When we think of pixel-art, we often think about older two-dimensional videogames. This is because before videogames made the big leap from two to three dimensions, nearly all videogames were made using pixels.
Really early videogames had fewer pixels and colours to work with because the processing power of computers and game consoles weren’t as great.
You may have heard of 8-bit games, or 16-bit games, and the ‘bit’ part is referring to the processing power of machines those games were developed and played on.
The greater the processing power, the greater the access to more pixels, colours, even sound channels for music and sound effects.
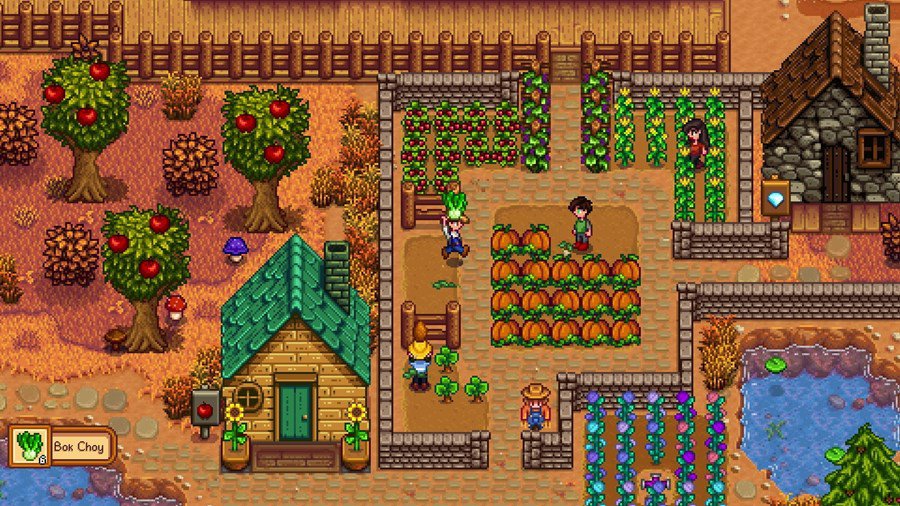
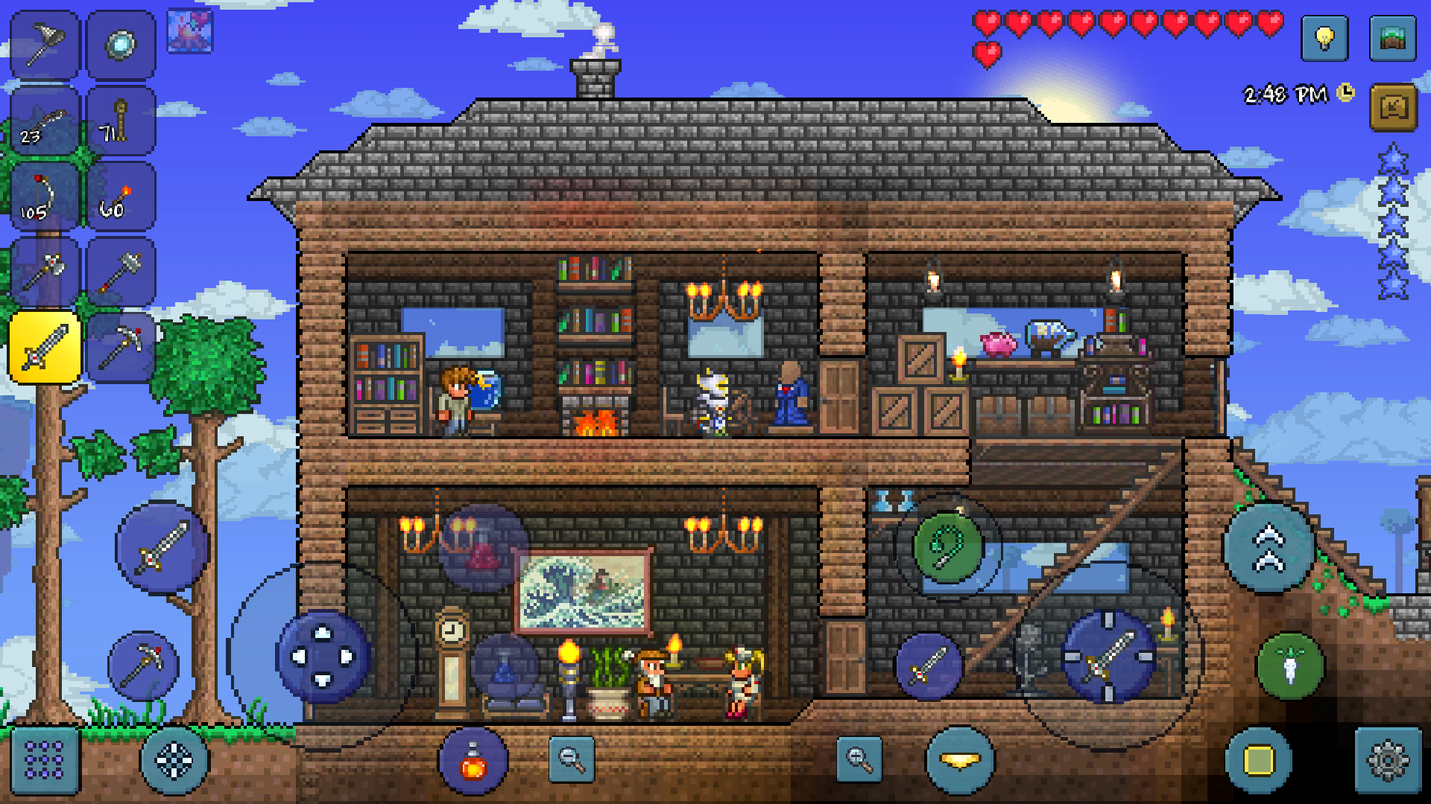
You might have noticed that two-dimensional games are still being made, as are pixel-art games that take inspiration visually from these older games, even though the developers of those games have access to far greater processing power, they most likely like the look of older games.


Creating and animating object sprites
For this resource, we recommending using a free pixel-art image editor called Piskel.
Piskel is great because it's free and browser based, meaning you don't need to download or register for anything.
Let's start simple, and create some static sprite objects. Static meaning, not animated - this way you can get used to Piskel and make a few objects of varying shape.
Because we don't know what kind of game you are making, we recommend either doing as we do in the video, and create three objects for a paper, rock, scissors game. Or, identify at least one static object you might like in your game to illustrate using Piskel.
If all your objects will be animated that's fine, you can create at least one costume for your object now and return to animate it later.
So:
- Identify 1-3 static objects from your game plan to illustrate
- If no static objects, create 1-3 objects as static for now, and you can animate them later
- If you're unsure, follow along with the video and create similar objects (paper, scissor, rock) for now.
Saving and backing up your files
File management sounds like a boring topic, but it's incredibly important, especially when you're working with browser based programs like Piskel.
As you go, save your completed sprites and costumes individually as PNGs.
Name them using their sprite name, costume name, and the number costume / frame.
So PLAYER_IDLE_1 for example.
Now you've got the hang of Piskel, and have created at least one static object sprite using it, it's time to try your hand at animating an object.
Follow along with the video below and create an animated coin sprite to get used to the principals of animating using Piskel, then have a try at your own animated object that will work for your game.
Now you've got the hang of it, time to think about your animated object.
- identify how the object will move; will it spin, will it disappear or disintegrate?
- plan that movement (we suggest rough drawings) out in as many costumes (frames) as you will need, however, keep it simple. Aim for 4 - you'll need at least 2 for an animation, and any more than 4 might mean things get start to get difficult.
Creating and animating a character sprite
Let's create a character for a 2D platformer style game.
You will need to make a number of costumes for this character for them to walk, jump, crouch etc.
We'll group these costumes and animations by the movement you want your character to make.
Let's start simple with an idle sprite.
When your character is idle, they aren't doing much, they're ready for action. Idle is when you're not touching the character controls and they are standing still.
However, we can still animated a character when they're idle because it would be a bit weird and boring for them to be completely still.
This idle sprite will be the starting point for the rest of your animations and movements, so they all match.
Watch the video below, have a Piskel project ready and follow on to create your own human character.
Once you have a idle sprite sorted, now is a good time to create what's called a sprite sheet.
A sprite sheet is where you plan out all the movements, and all the costumes you need to achieve the animation of those movements.
Here are the basic movements of a 2D character in a platformer game and the minimum costumes needed, as well as what we would suggest:
Idle - 2-3 costumes
Walk - 4-8 costumes
Jump - 2 costumes (one to push off the ground, another for the character falling back to earth)
Duck - 1-2 costumes
Death - 1-2 costumes
Draw these movements and how you imagine breaking down these movements into costumes / frames for your animations.
Don't be afraid to act out the movements. It can be good to work in pairs or as a group, have one person pose for the movements, and the other sketching them out roughly.
These sketches can be simple, but shading the arm and leg furthest from the illustrator can really be helpful.
Walk cycle
Before you get animating other movements, it's best to start with your walk cycle.
Walking sounds simple, but it can actually be challenging to animate and break down into costumes.
You can get away with 2 costumes/frames for a walk cycle, but let's aim for 4. Investing a bit more time into making a good walk cycle is worth it, trust us.
So master this bit, and the rest will be easy in comparison.
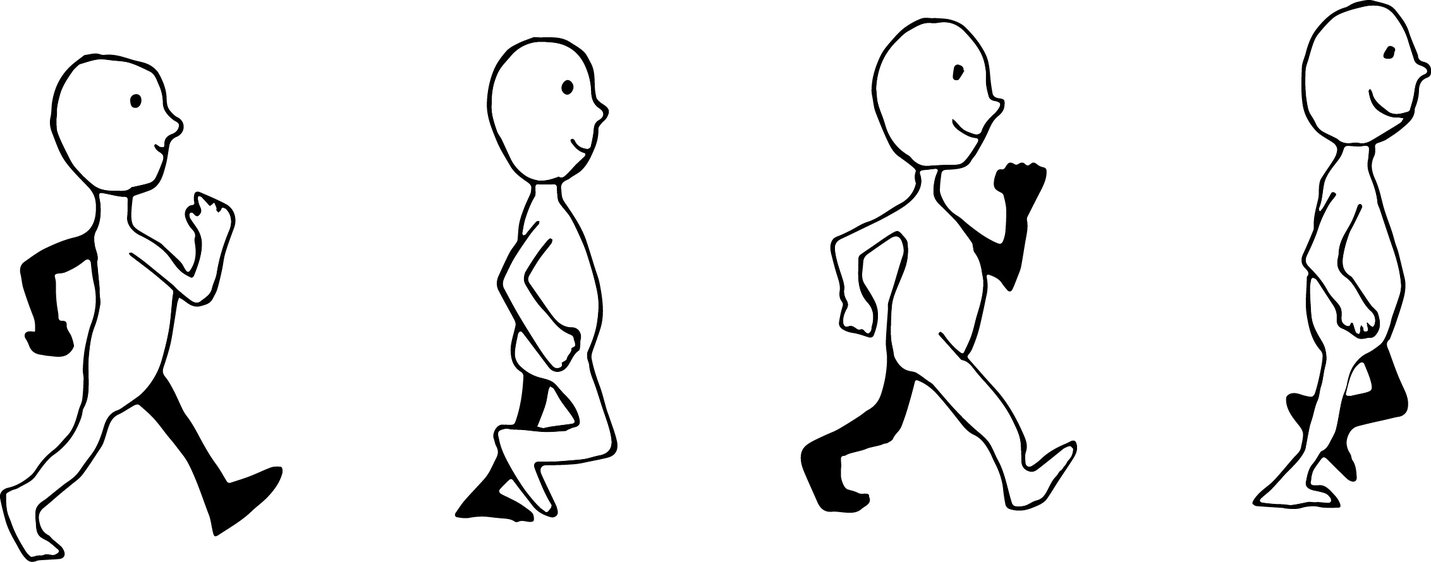
Here is a four-frame walk cycle template:

You'll notice the arm and leg furthest away are shaded, this is important. You can see how the motion of walking is broken down into four movements, the challenge will be drawing these four costumes in Piskel.
Again, you can follow the below video with a Piskel project open.
Use the idle sprite you created earlier as a base so this new animation matches.
Follow along to the video below and you can also have the 4-frame walk cycle image handy too if you like.
Think: What character movement will you animate next?
Remember, you have your sprite sheet and some experience using Piskel now, so time to create those additional movements!
Don't overcomplicate it, movements like jumping, crouching and so on don't need as many as four frames like the walk cycle, stick to 1-2 costumes as we suggested with your sprite sheets.
Next moves
Once you have all your sprites and costumes organised for all your characters movements, as well as some objects for your character to interact with, you might like to start bringing them into a game engine such as Sprite or Gamefroot.
You don't have to of course, but you might like to export all your character's movements and animations from Piskel as either GIFs, or spritesheets.
Load up each sprite, select 'export' and use either the GIF export tab, or PNG>Sprite sheet export option, so you have good visual representations of your creations to show off to other.
Good luck!